Tutorial
How to create your free Zinwe account (no card needed)
Sign up for Zinwe in about five minutes: your name, work email, a password, a 6-digit code, your company details and the Free forever plan. No card, no trial clock.
Zinwe team · · 3 min read
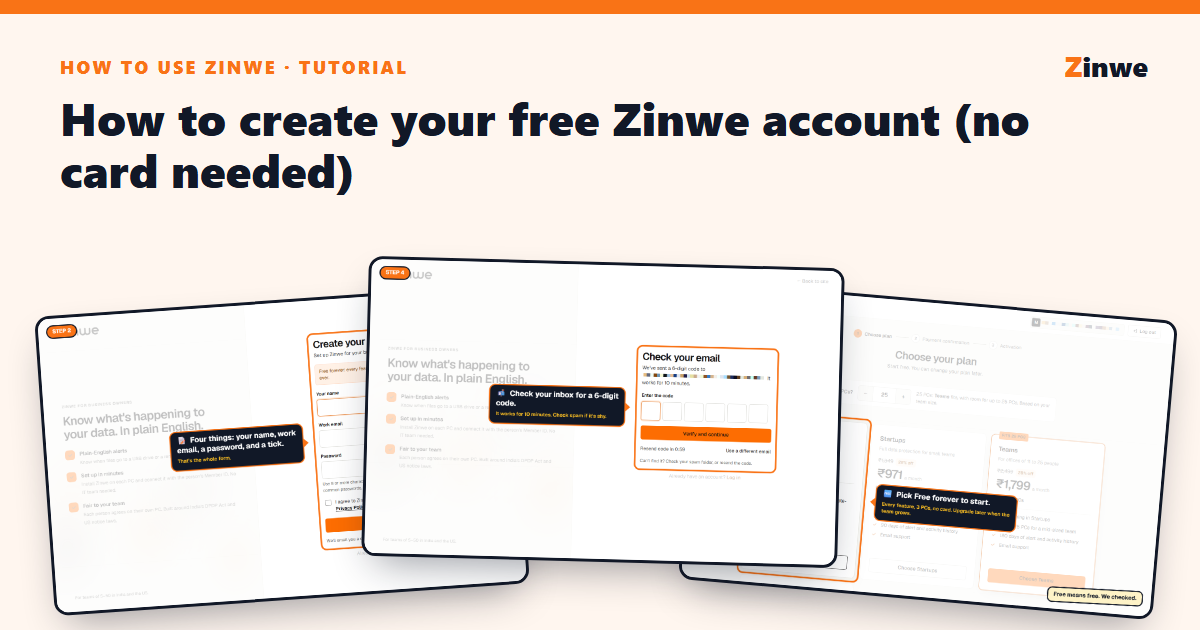
Short answer: go to zinwe.io, click Start free, fill four fields, type the code we email you, add your company details and pick Free forever. It takes about five minutes and you never enter a card.
Free forever covers up to 3 PCs with every Zinwe feature and 7 days of history. It doesn't expire. You can move to a bigger plan later, when your team grows.
Before you start
- Use your work email. Your sign-in codes, alerts and invoices go there.
- Keep your inbox open in another tab. You'll need a 6-digit code.
- Zinwe runs on Windows PCs today. You set it up from any browser.
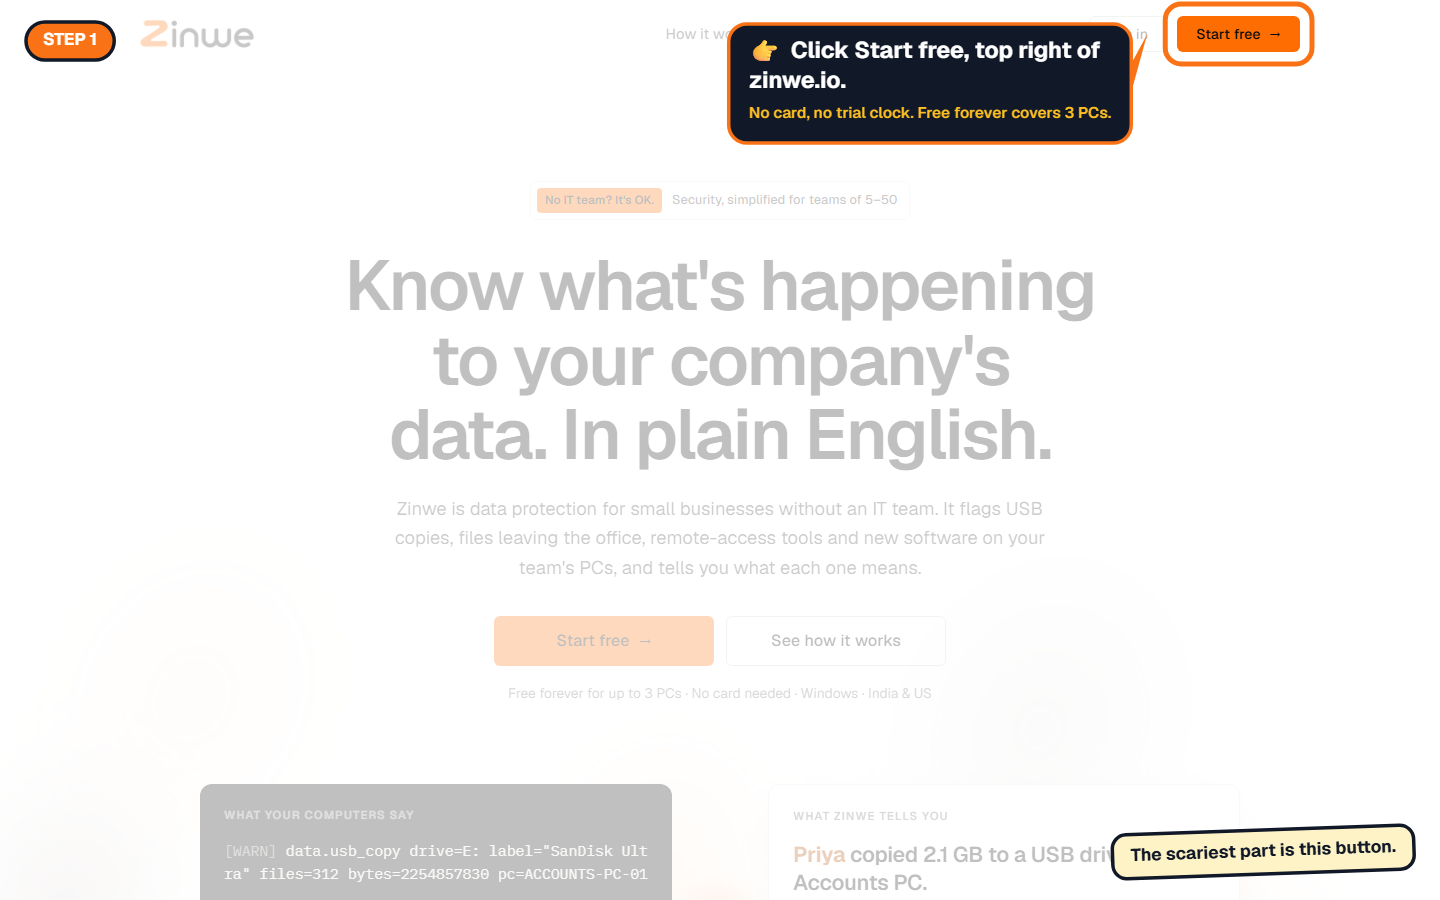
Step 1: Click Start free
On zinwe.io, the orange Start free button sits at the top right of every page.
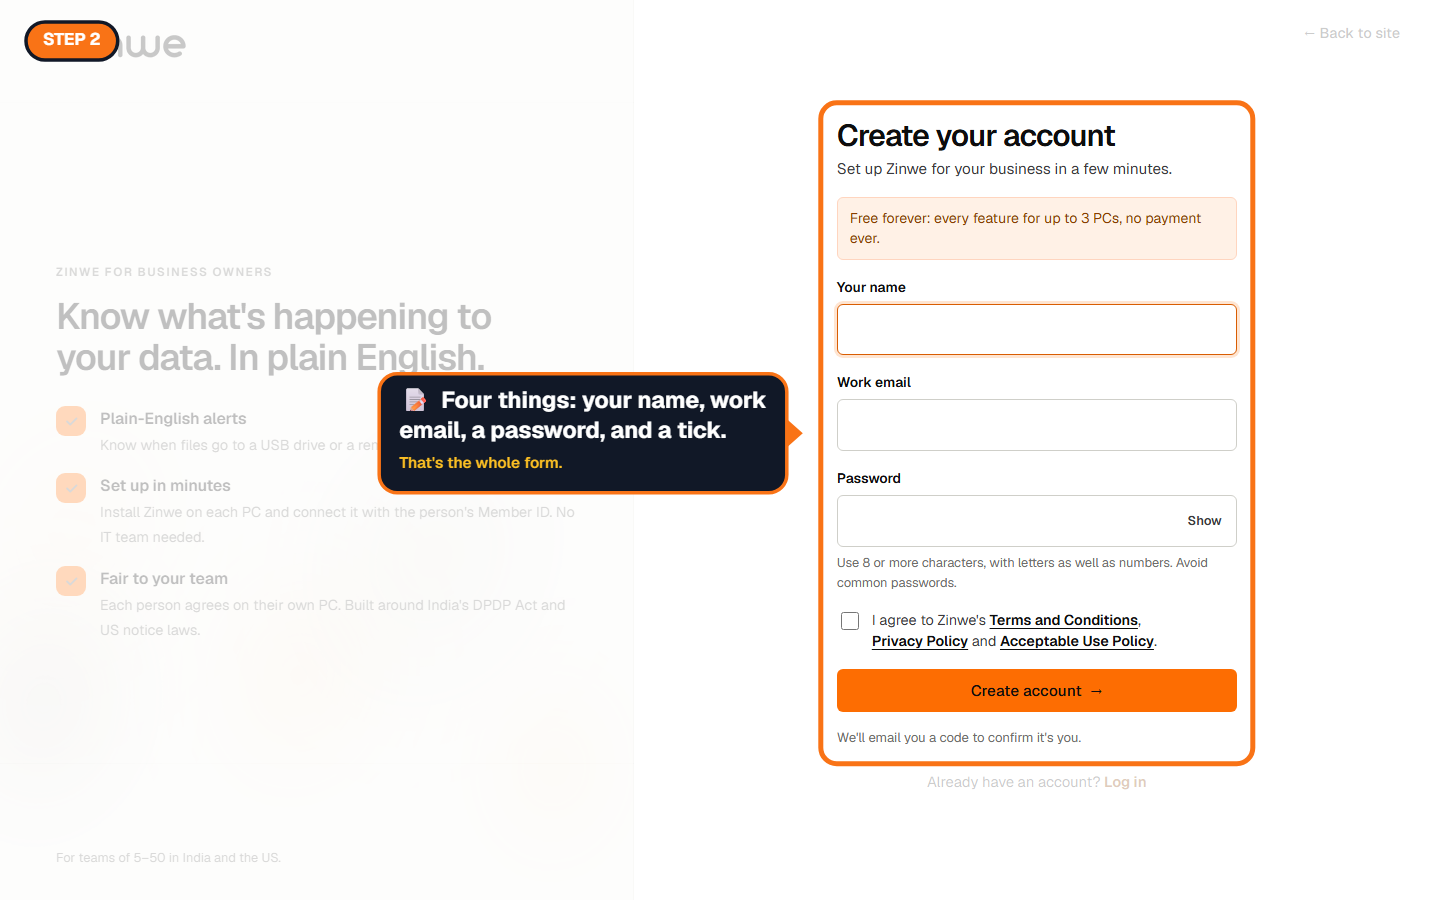
Step 2: Fill in the sign-up form
Four things: your name, your work email, a password and a tick to accept the terms.
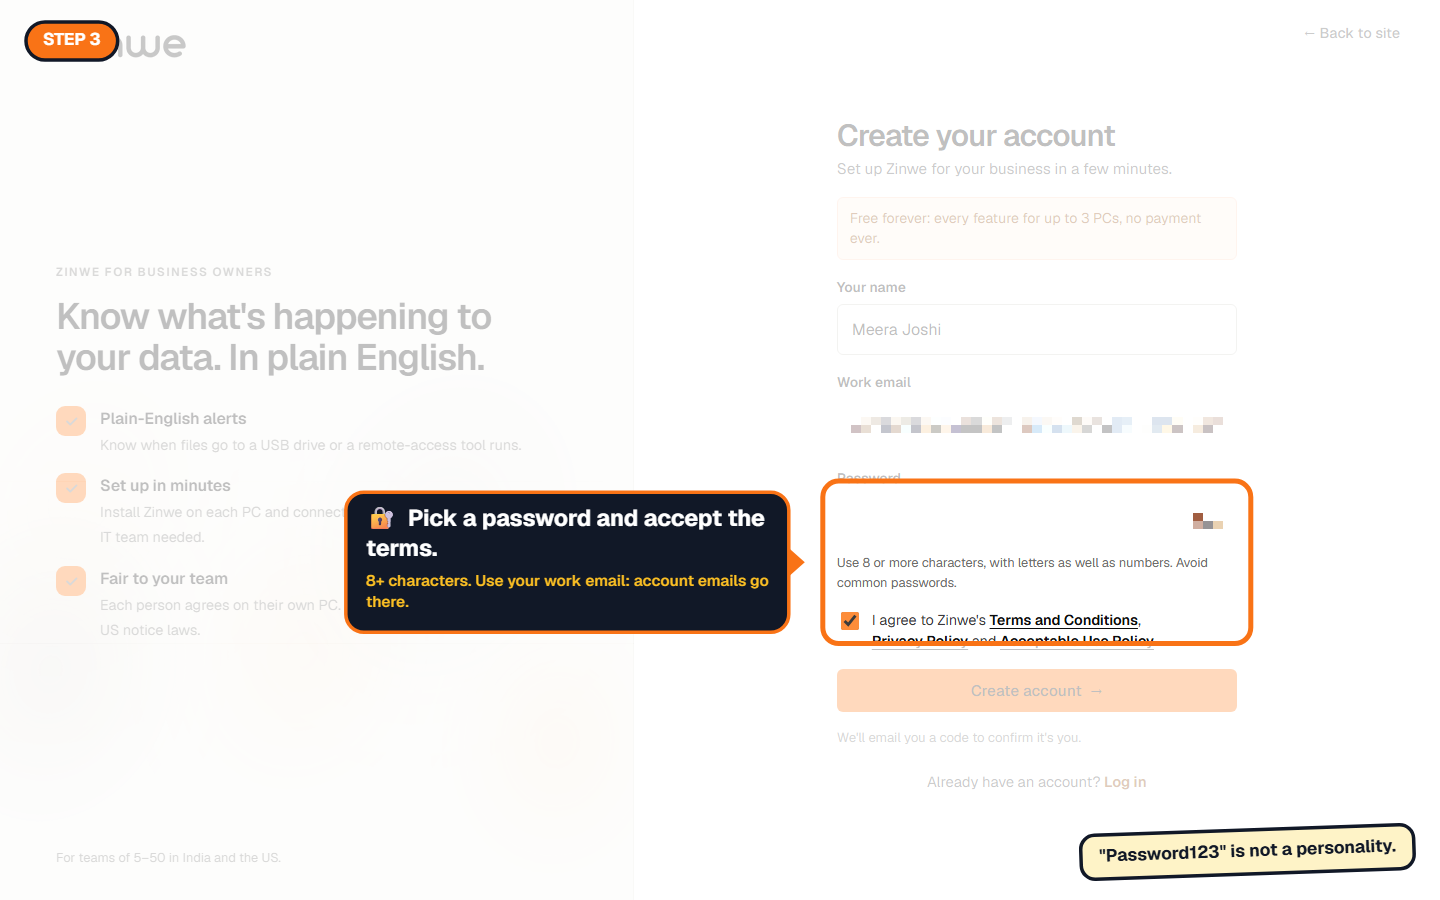
Step 3: Choose a password and accept the terms
The rule is right under the box: 8 or more characters, and not a common password. Tick the box to accept the Terms, Privacy Policy and Acceptable Use Policy, then press Create account.
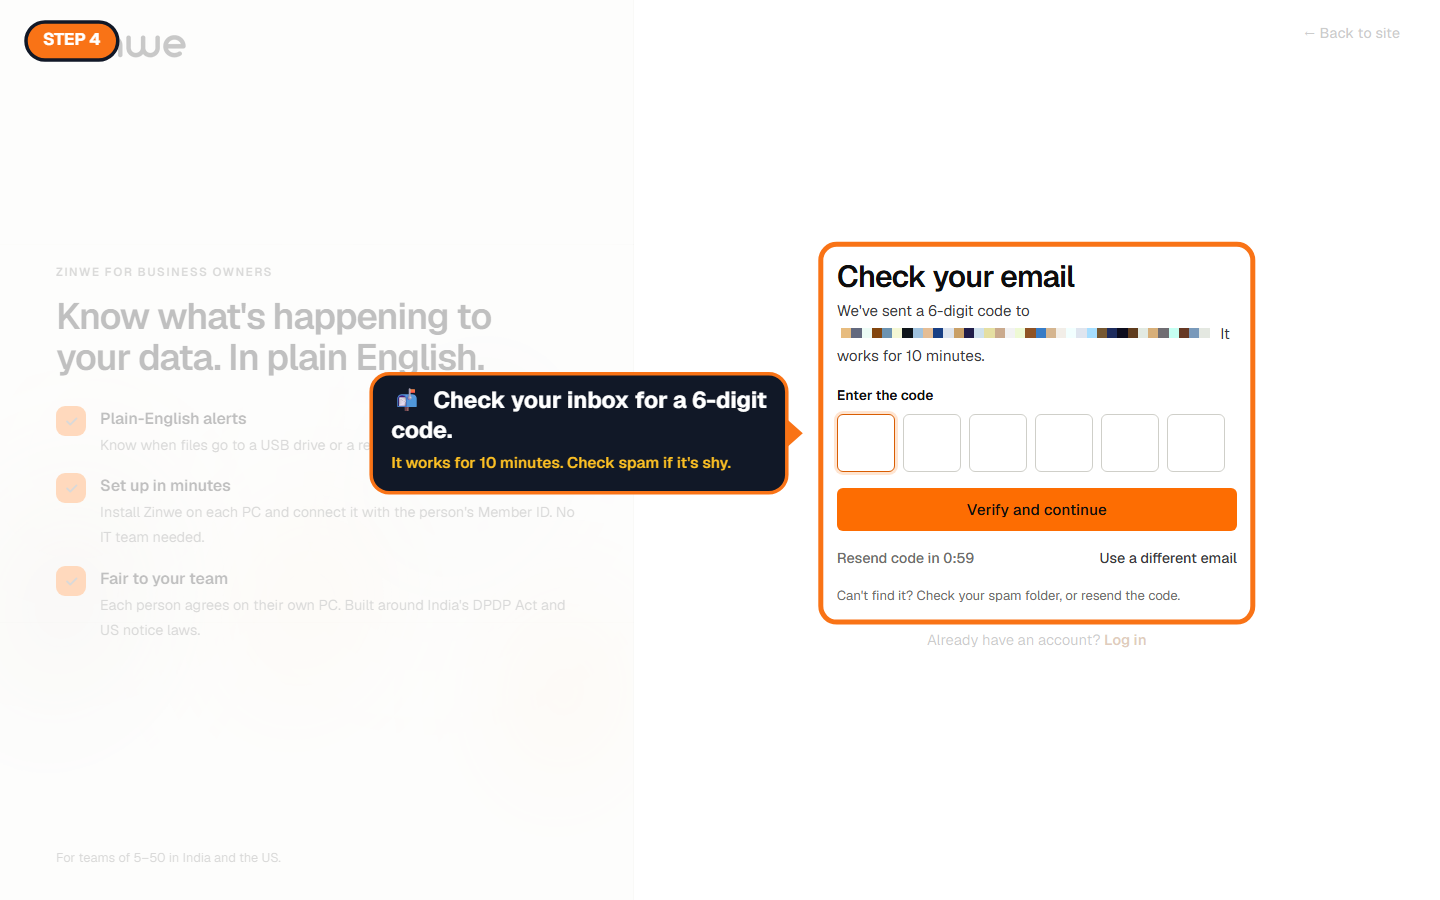
Step 4: Check your email for the code
We send a 6-digit code to the address you typed. It works for 10 minutes. If you can't see it, check spam, or press Resend code after a minute.
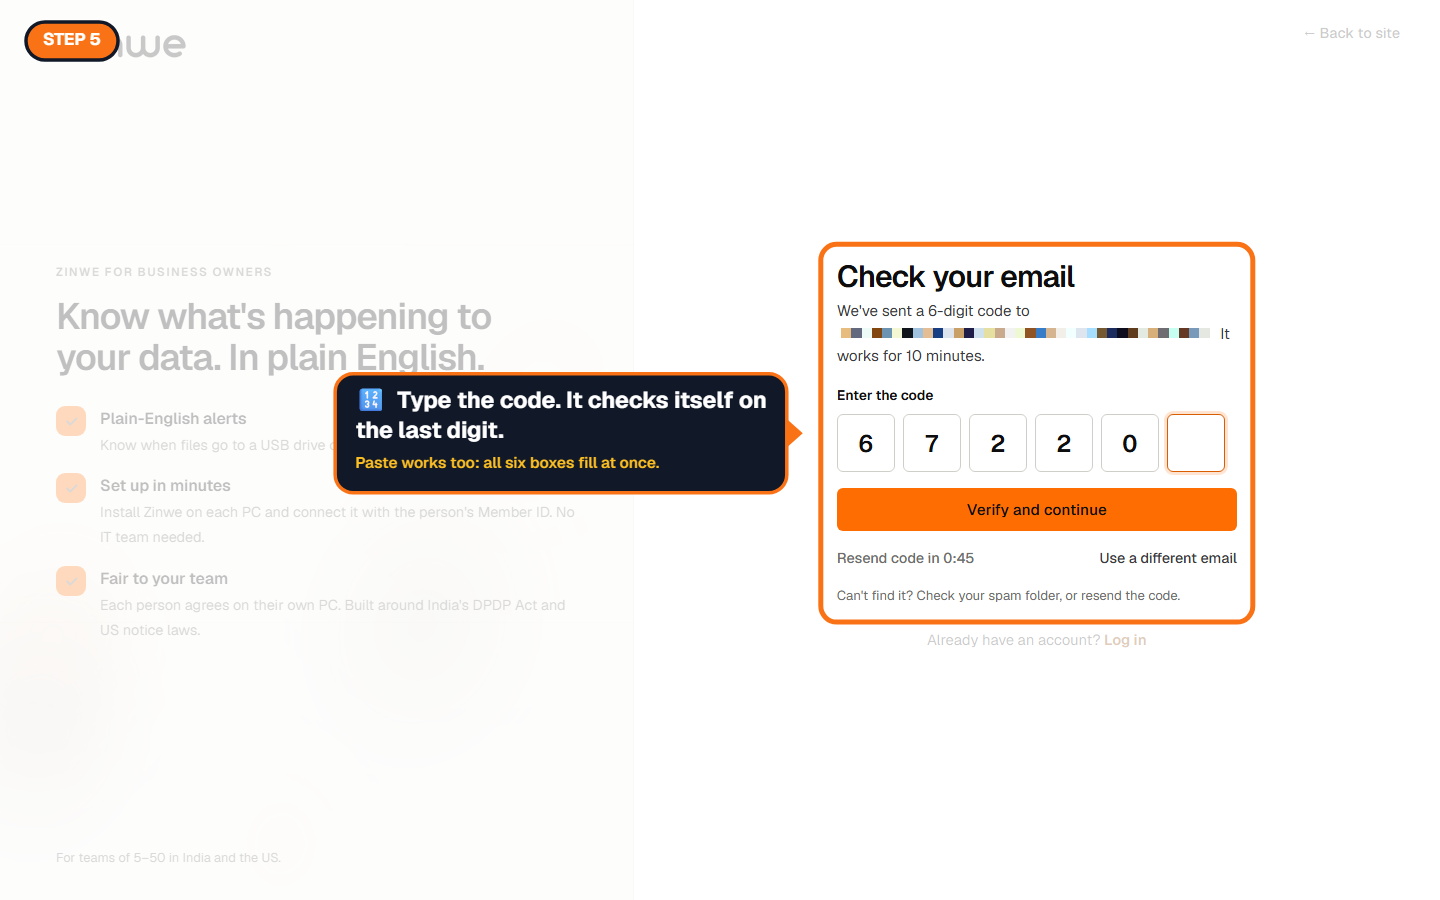
Step 5: Type the code
Type or paste the code. It checks itself as soon as the last digit is in.
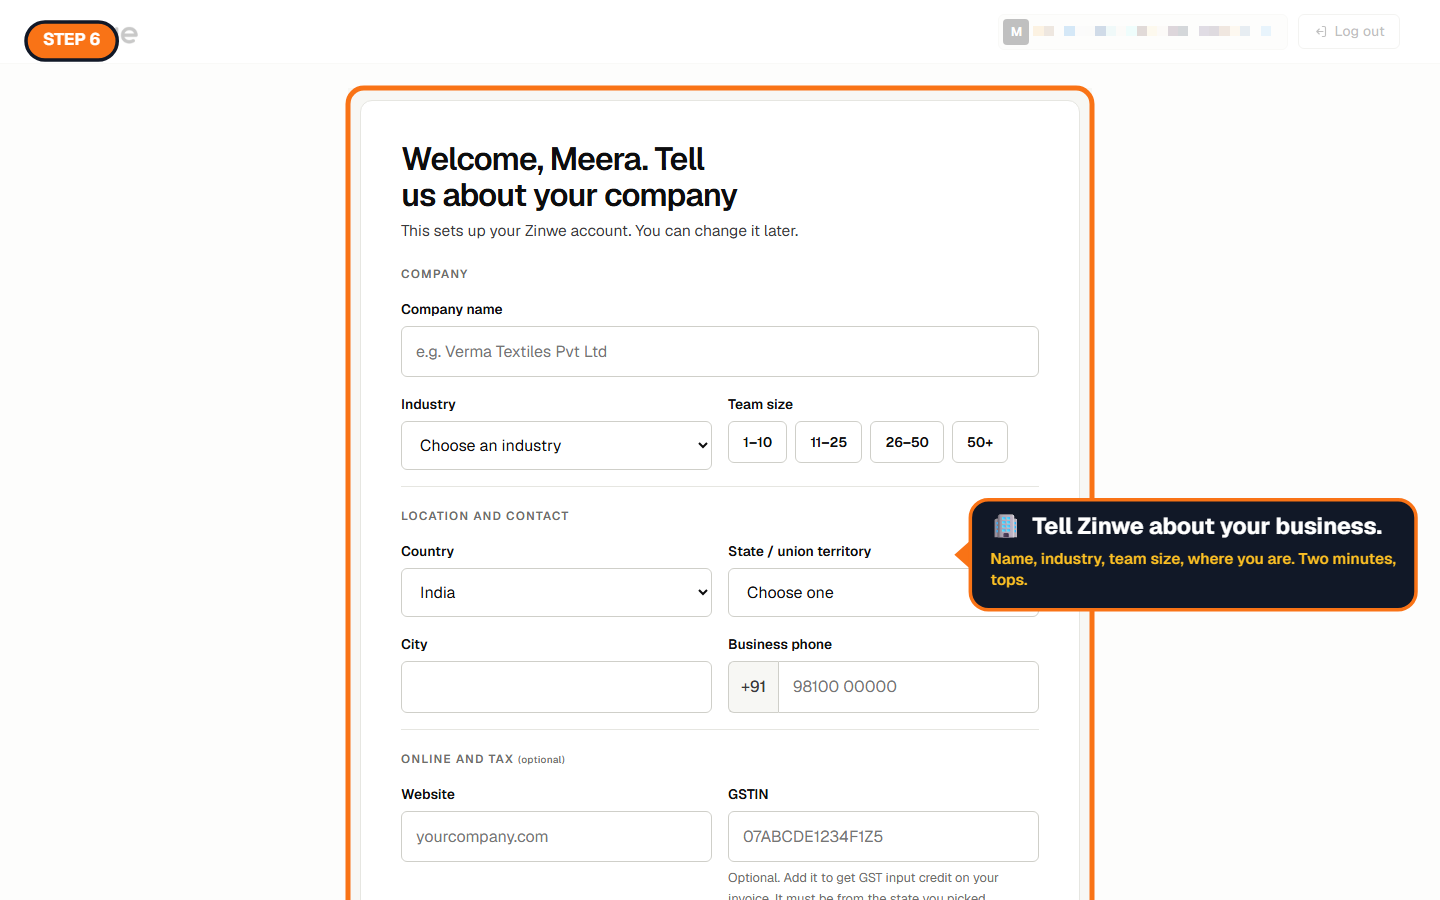
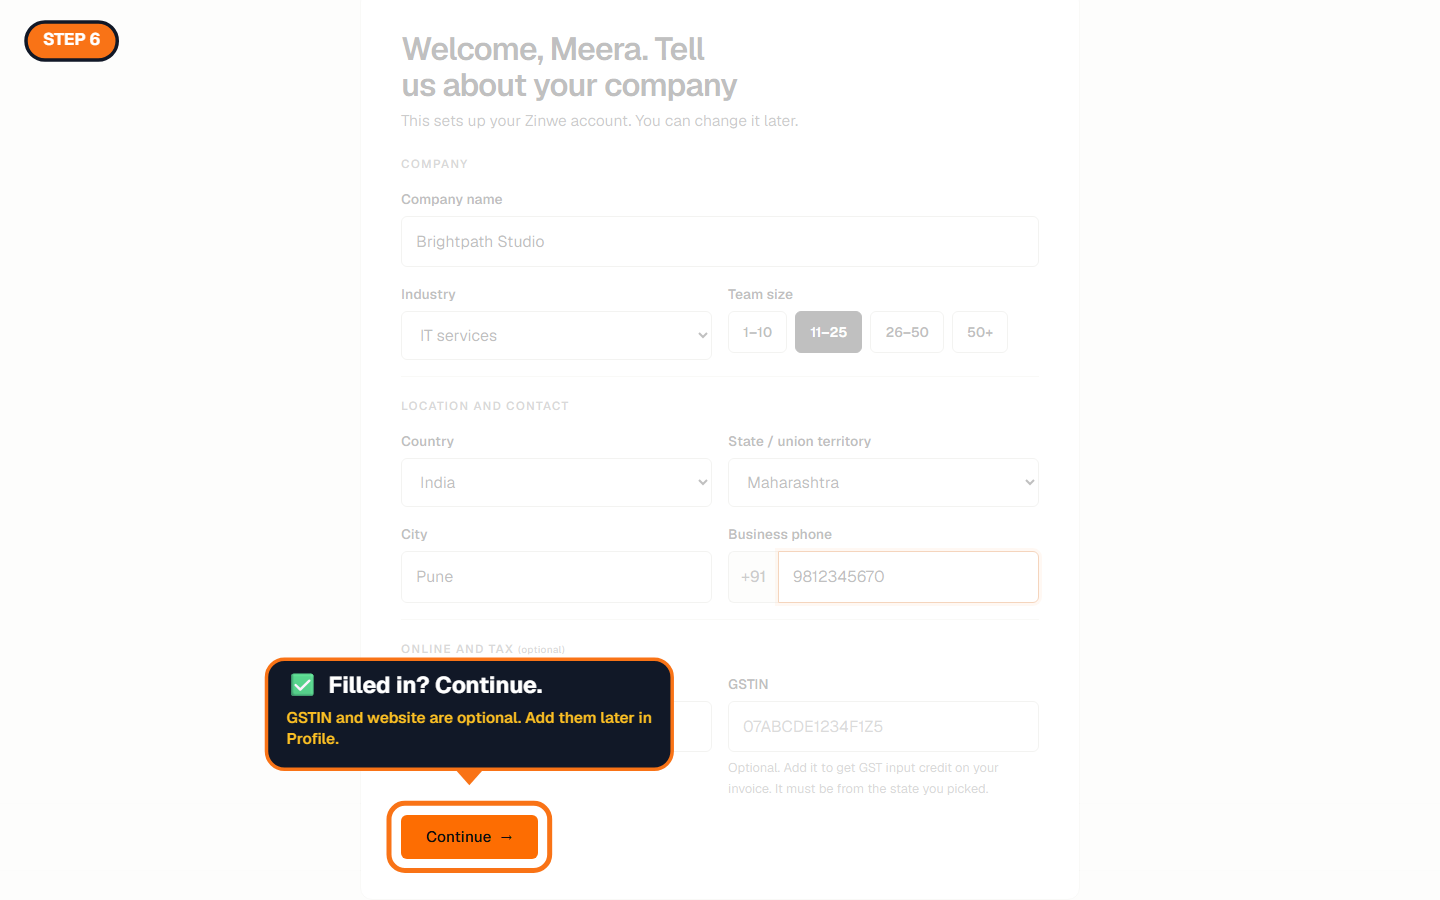
Step 6: Tell Zinwe about your company
Company name, industry, team size, state, city and a business phone number. Website and GSTIN are optional. Add your GSTIN if you want GST input credit on your invoices. You can change all of this later in Profile.
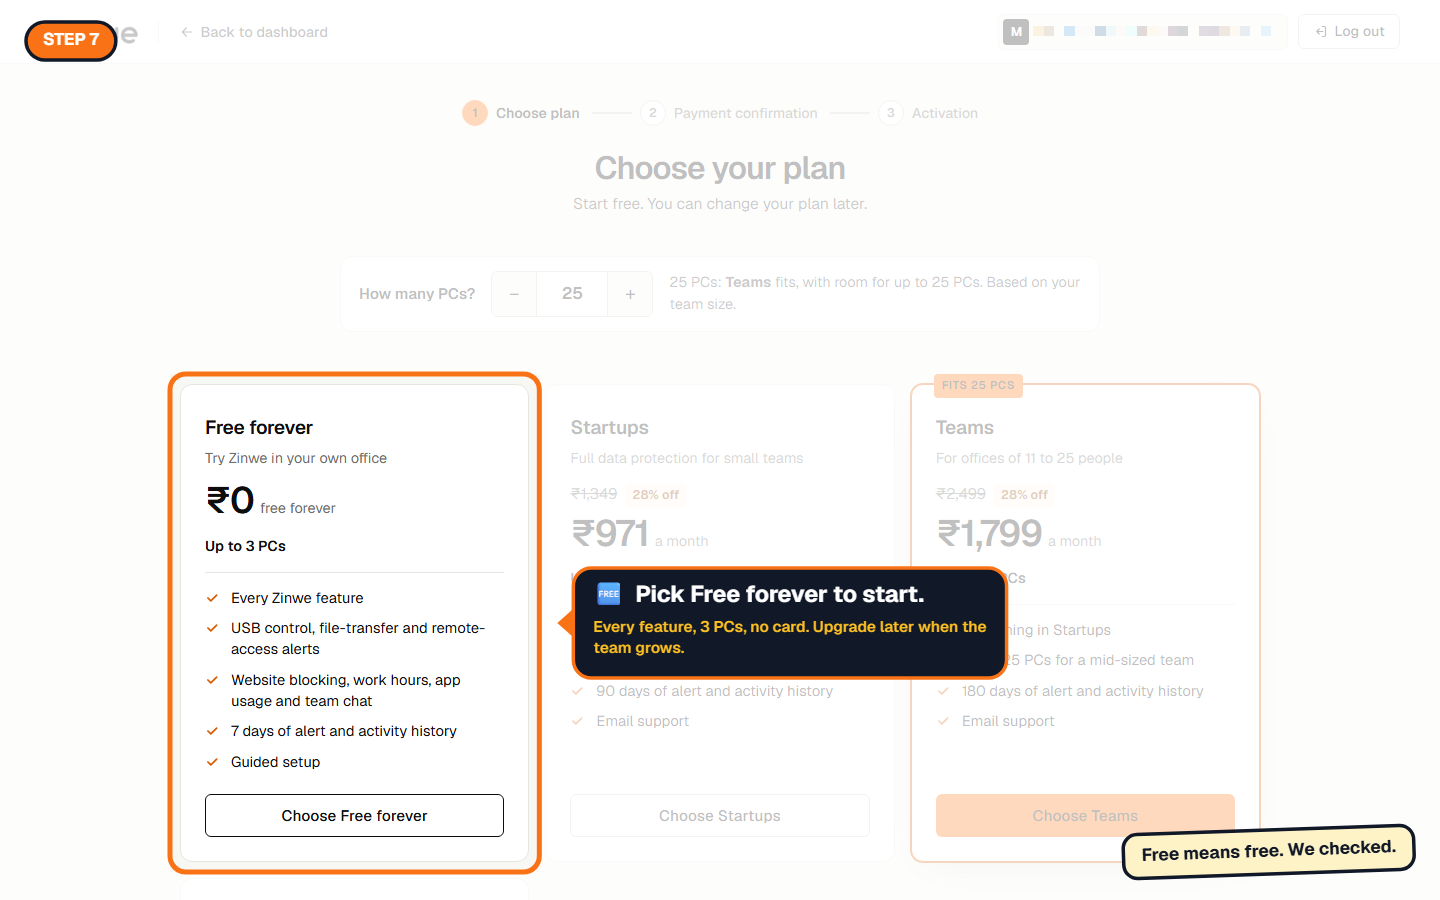
Step 7: Pick Free forever
The plan page shows four plans. They all have every feature; they differ by how many PCs they cover and how long history is kept. Press Choose Free forever to start.
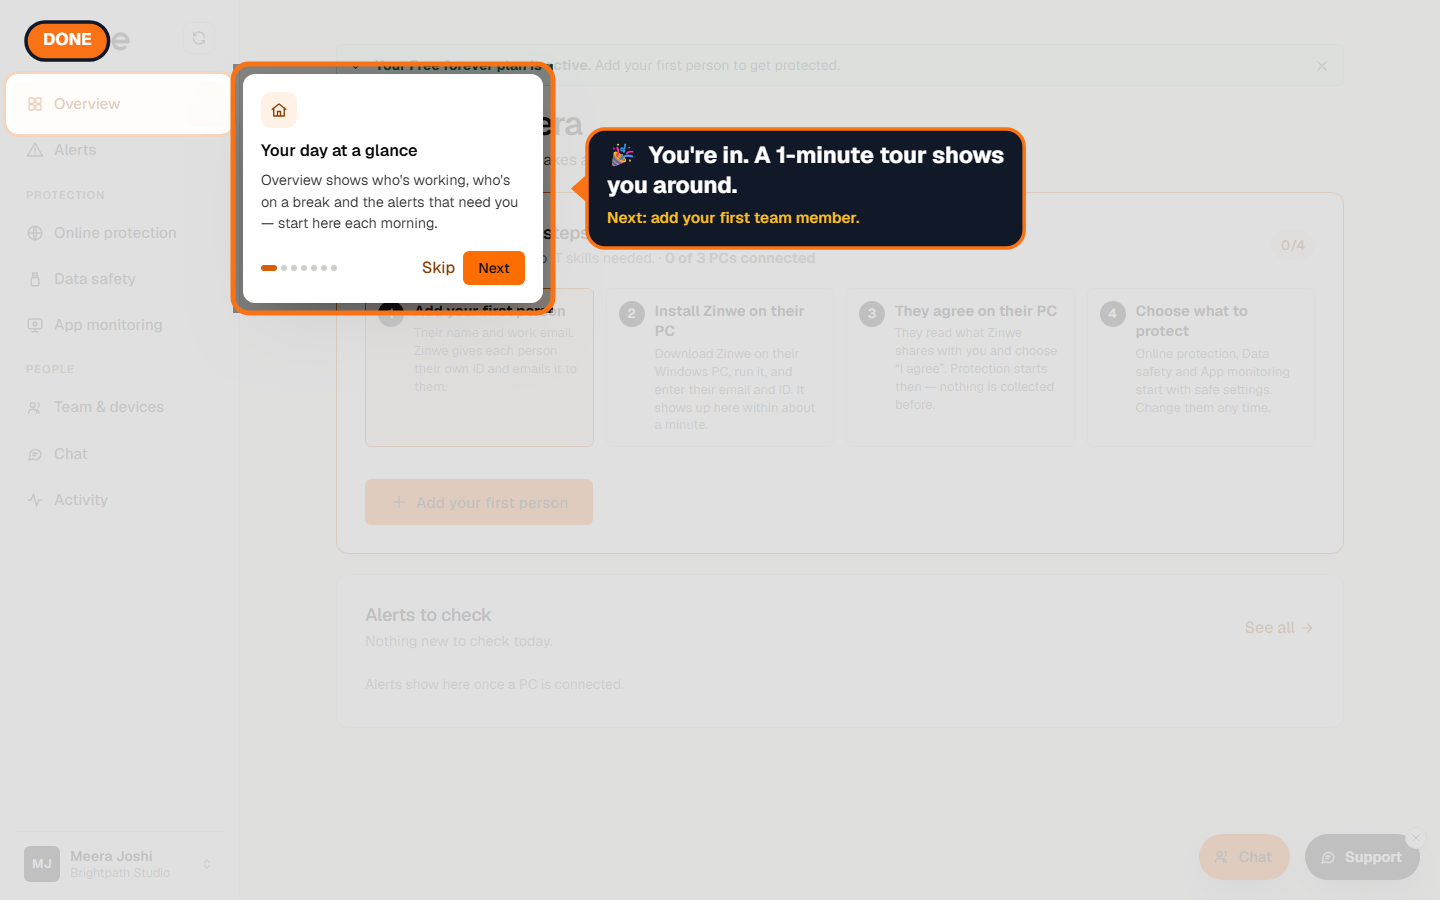
Done: you're on your dashboard
A one-minute tour points out Overview, Alerts, the protection pages and your team. Skip it if you like. You can replay it any time from How to use in your account menu.
What to do next
Add your first team member. You'll get their Member ID, they install Zinwe on their Windows PC, and they agree to it on their own screen. That's the next tutorial in this series.
The How to use Zinwe series
Get started
- Zinwe in 5 minutes
- Create your free account (you are here)
- Log in
- Get help: tour, How to use, Support
Set up
Protect your data
- Read and handle an alert
- Control pen drives
- Block remote-access tools
- Block websites
- New-software alerts
Your team
Your plan